Use this Go Live Walkthrough document to quickly get your RetentionEngine live on your site.
This step-by-step guide is to help you after you've created your account and selected your billing plan. Still need to create your accunt? Sign up here!
Build your RetentionEngine
Step 1: Create New Engine
Once you've got your account created, you can get started creating your RetentionEngine!
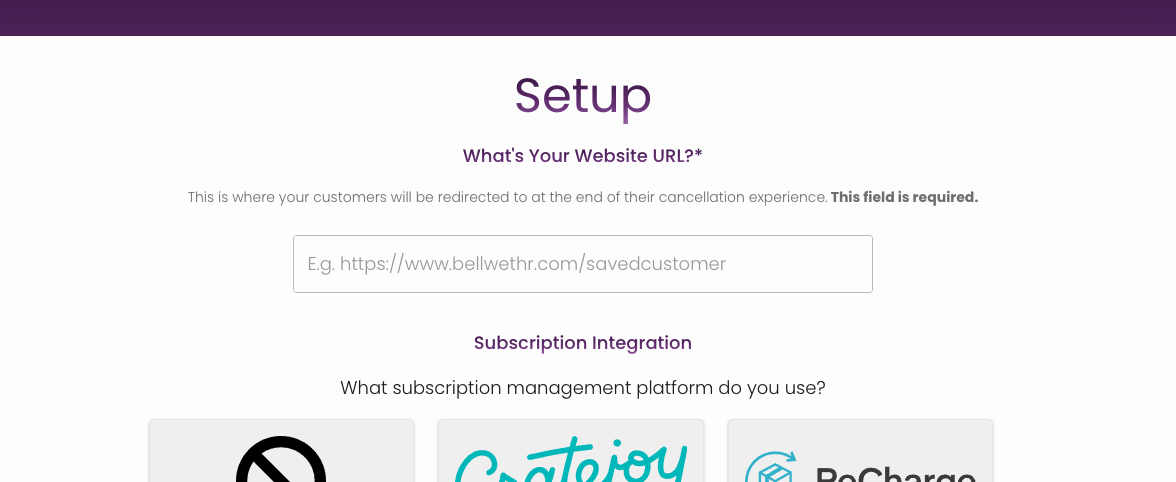
Step 2: Website URL
You'll be asked for your Website URL. Just input your website homepage here unless you have a specific page you'd like your customers to go after they've gone through RetentionEngine.
Step 3: Integration/API Key
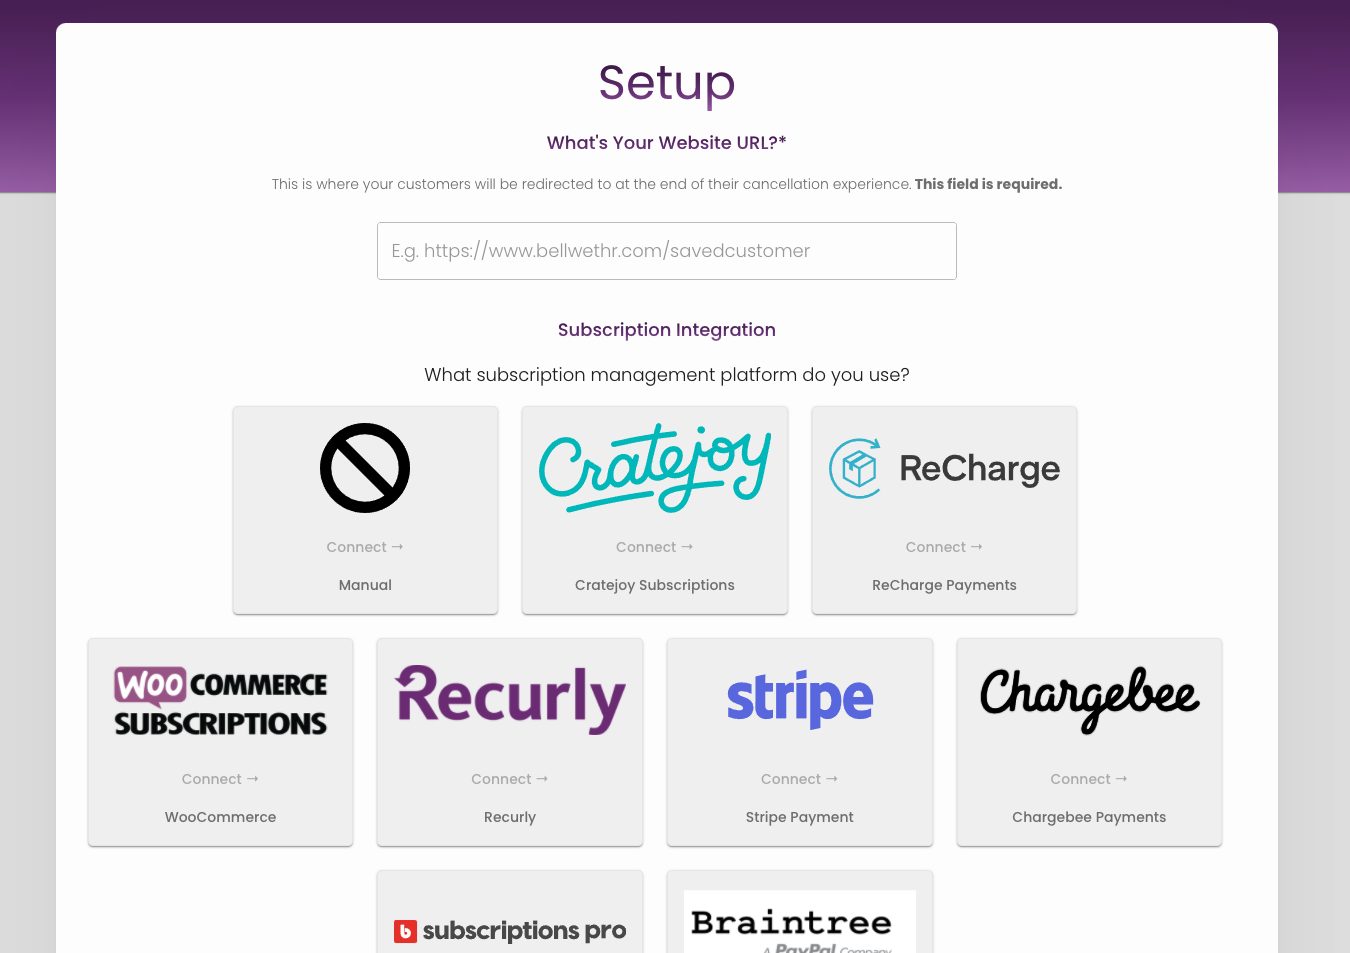
Select your Subscription Platform from the options below. You'll then see a pop up asking for your API Key. This is what connects RetentionEngine to your subscription platform.
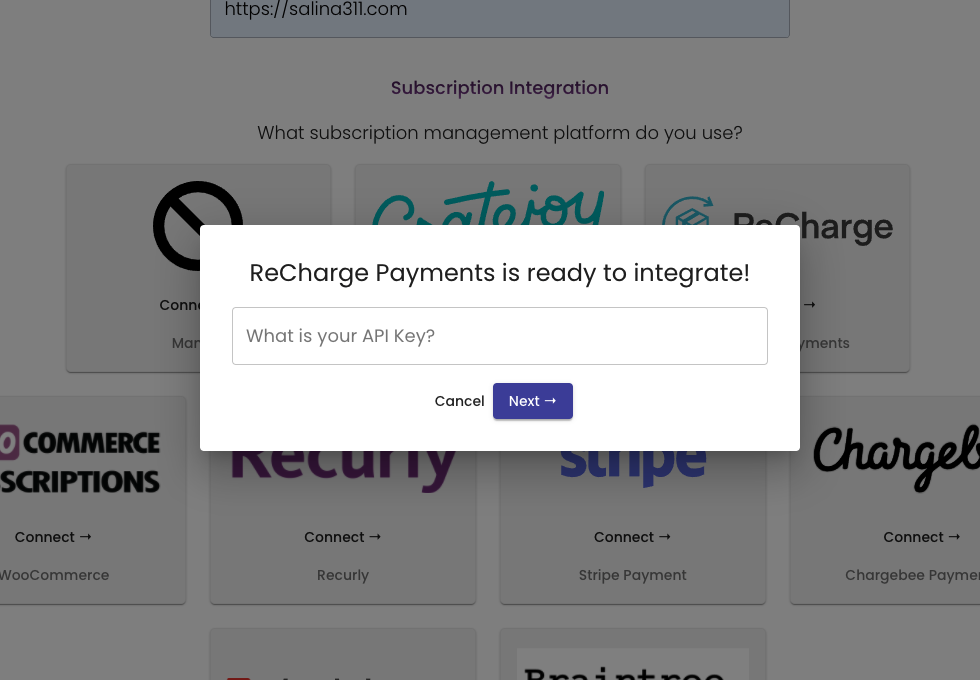
After selecting your subscription platform, you will need to locate your API Key and paste it here.
Here are instructions to locate the API Key for each integration:
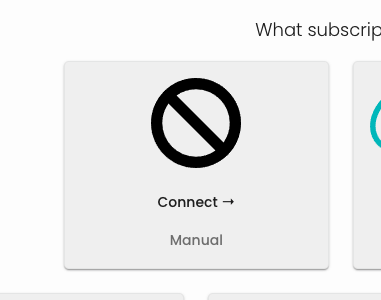
Create a Manual Engine if you do not use a subscription platform, or if your platofrm is not supported. Learn more about Manual Engines here
Step 4: Save Your Snippet
You will see your code snippet, which is how you connect your site to RetentionEngine. You can hold onto this snippet or access it later.
Scroll down and click "NEXT"
Step 5: Go to your Console
After these steps, you're ready to start editing!
Creating Your RetentionEngine
Now that you're in your RetentionEngine Console, you can start customizing your cancel flow before you make it live.
This might look overwhelming at first, but for this quick set-up we'll onlybe looking at these 4 tabs in the top right of the navigation bar:
- Edit
- Dashboard
- Preview
- Test
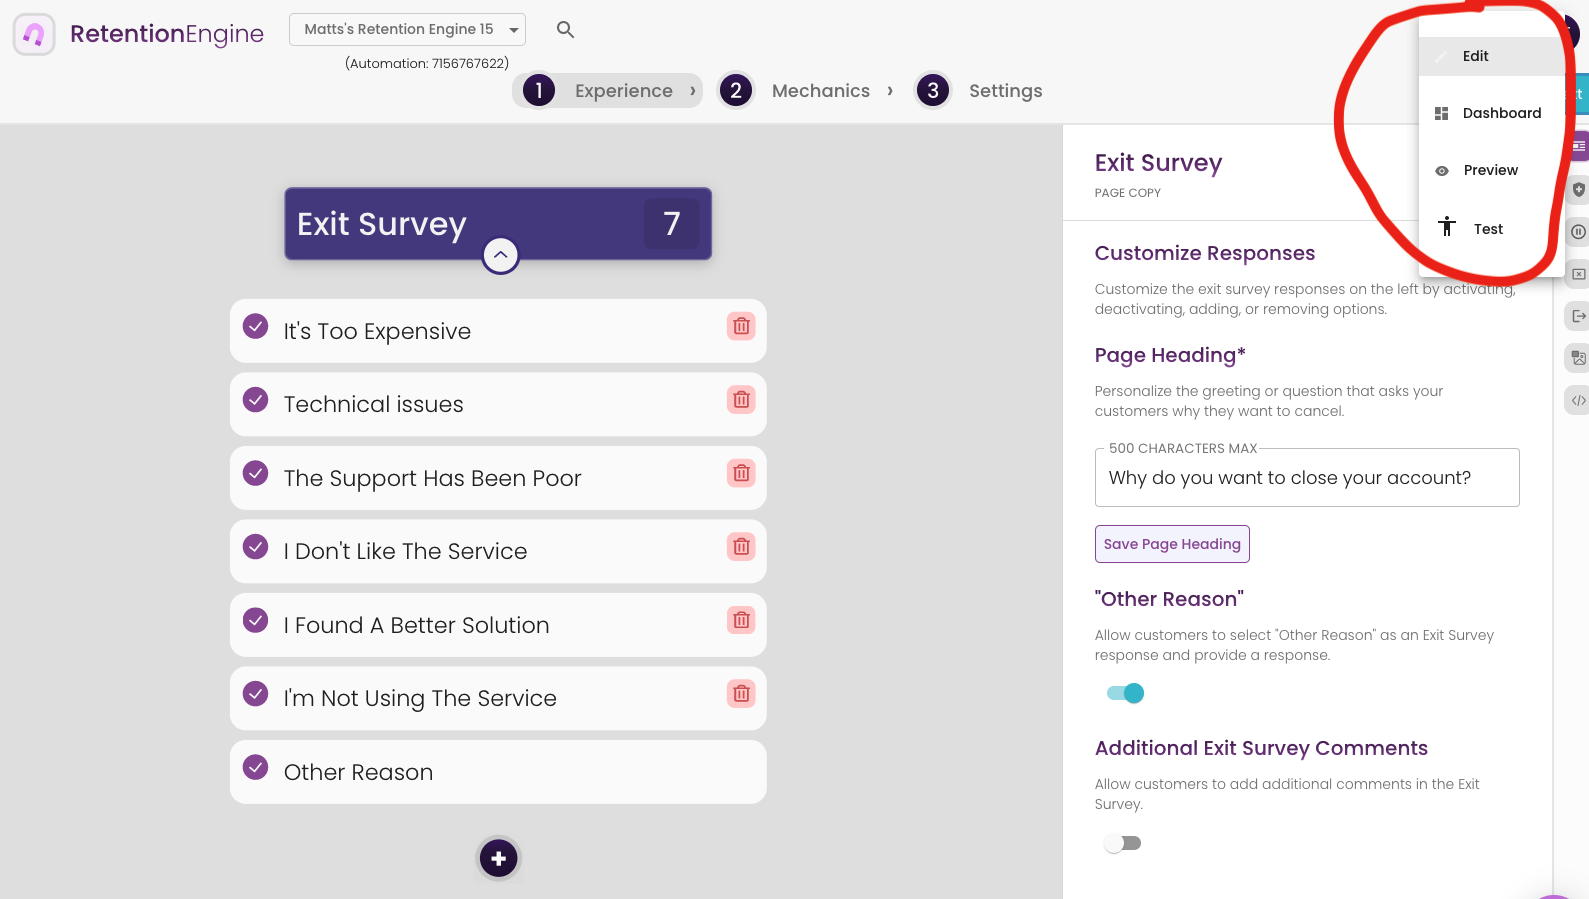
Edit
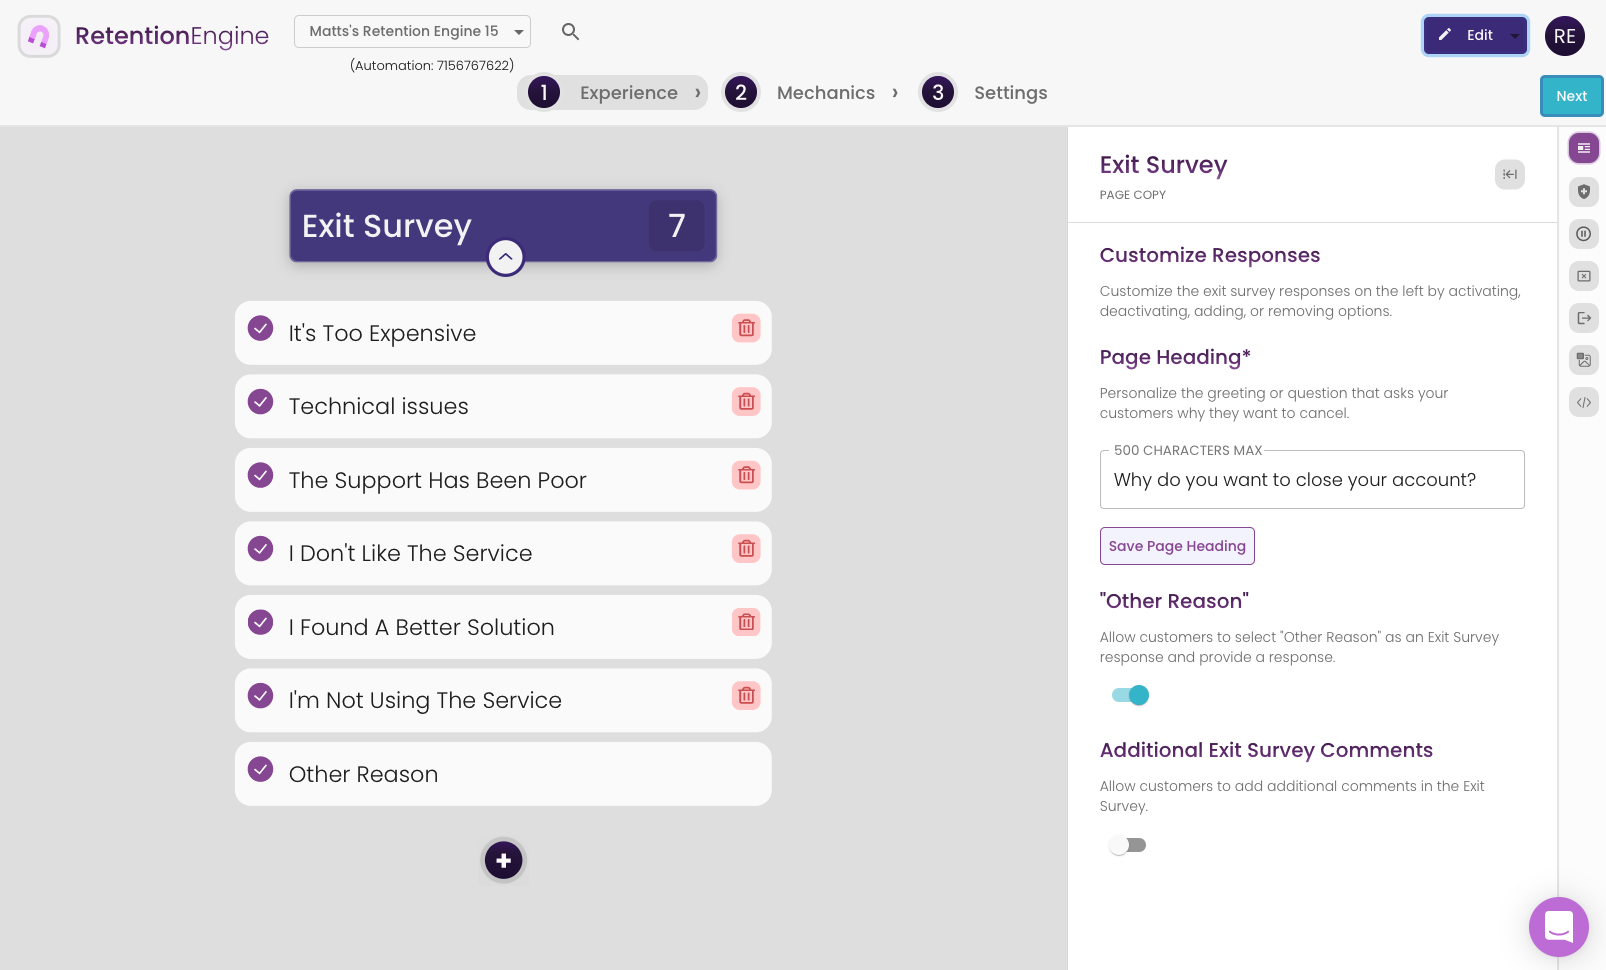
The Edit tab is the designer for your cancel flow. It is a drag and drop designer that allows you to create the elements that comprise your cancel flow, adjust the settings, and the mechanics of the flow.
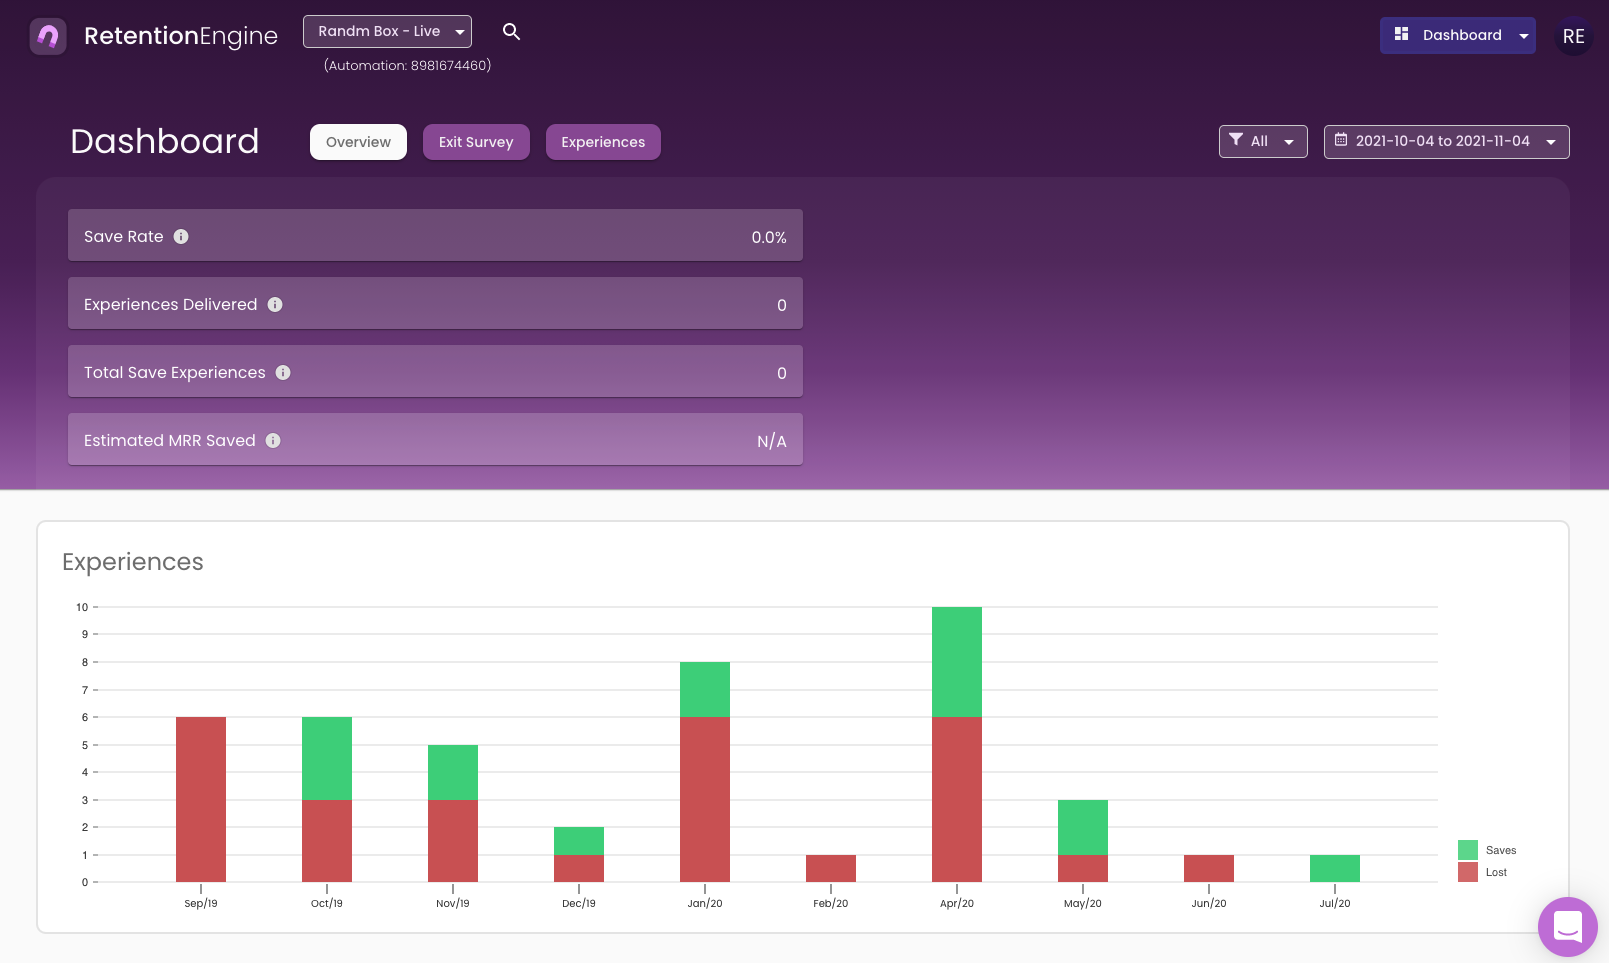
Dashboard
The Dashboard tab is your analytics tab. This is where you will find the performance metrics and the experience logs for your customers.
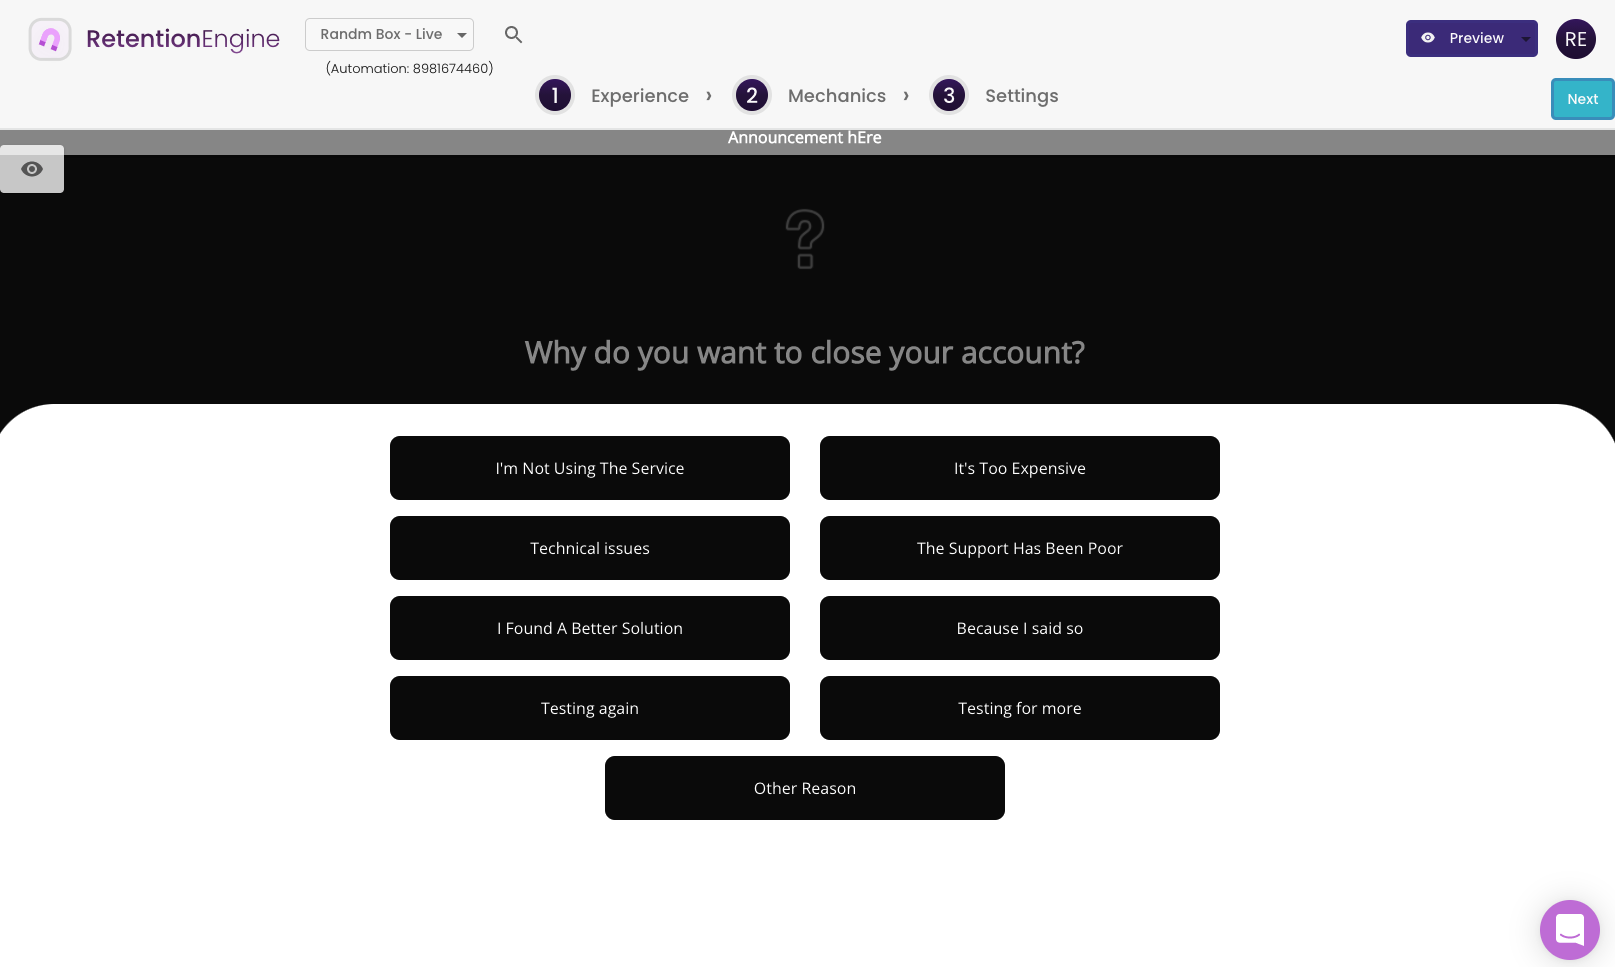
Preview
The preview tab is where you can view all of the screens that comprise your cancel flow.
Test
The test tab is where you can go through the whole cancel flow. (NOTE: RetentionEngine has anti-gaming functionality built in. This technology prevents customers from trying to game the system/shop for other offers/treatments. This is on by default and can prevent you from going back and forth in the cancel flow while testing).
Creating Your Flow (Edit)
There are 3 primary components of the No-Code Cancel flow builder:
- Experience (the elements that comprise the flow)
- Mechanics (the logic for how the customers will move through the flow)
- Settings
Here's a quick video that walks you through designing your cancel flow:
Install on your Site
If you've completed all of the steps above, you're now ready to install RetentionEngine to your live site!
Step 1: Copy Code Snippet from Settings Tab
To make RetentionEngine live on your site, you will now need to copy and paste the RetentionEngine code snippet into your site theme.
Locate the Code Snippet under the "Settings" Tab and copy it to your clipboard.
Step 2: Paste into Shopify Theme/Website
Now, use the following instructions on how/where to paste the Code Snippet for each integration:
- ReCharge Code Snippet
- Cratejoy Code Snippet
- Chargebee Code Snippet
- Stripe Code Snippet
- Bold Subscriptions Advanced Code Snippet
- WooCommerce Subscriptions Code Snippet
- Manual System Code Snippet
Step 3: Test your Installation
To make sure your RetentionEngine is installed correctly, we recommend creating a test subscription from your store (if you don't already have one).
You can do create a test account by creating a 100% off, non-recurring coupon in your subscription management platform. Then, go through the normal customer sign-up process using the coupon you created. After you've become an active subscriber, go through the cancelation process and make sure RetentionEngine works as intended.
For more on testing, including how to use active subscriptions to test, check out this article.
Additional Configuration
Congratulations! After you've completed the steps above, your RetentionEngine should now be live on your site.
Now that you've got the basic set up of RetentionEngine live, you can continue to customize and configure your settings in the RetentionEngine dashboard!
We now recommend taking a look at the rest of our support docs as well as doing the following:
- Set up Customer Notifications
- Continue creating Cancel Resolutions
- Review the Analytics tab